

Do you ever want to make something that screams Valentine's Day, but that you would like to display throughout the year?? This was the pickle that I was in. I wanted to do something great, but not have to store my greatness away once Cupid was no longer hanging out. So I decided that I would do a wooden subway sign for the wall, that says "I LOVE YOU", in lots of different languages. I first designed it, which you can feel free to download the free PDF file.
I sized it to the wood I was using, so you can just resize it to fit your project. I printed it out (in 3 pages) and taped the paged together. Then I spent way too long (I won't even get into it) transferring it to the wood. Here it is in pencil...

I'm not sure where I went wrong after this, but let's just say that this was my first truly failed project. I think I ran out of patience with this one once I started painting the words. So a few days went by, and I decided to paint this bench.

I didn't have any intentions on painting the sign on it, but my sister-in-law suggested it. At first I thought....she's crazy! I'm not wasting all that time again!! But I'm a glutton for punishment.
I reprinted the sign, only this time, mirror imaging the text. The technique that I used is super easy. Everyone will think that you are an amazing artist with great penmanship. Here are the steps to transfer:
You will need: light colored chalk
something to trace the words...I used a mechanical pencil without the lead so that I could still see the image on the paper clearly after it was transferred to the wood.
Ultra fine tip Sharpe (note: I used 4 sharpies, you'll see why)
Lots of PATIENCE!
Sandpaper (optional)
Top coat of your choice
Use sidewalk chalk on the printed side of the image. With the printed side face down (with the chalk side on the wood), trace each word. I only did a couple of the words at a time, so that I wouldn't rub off the chalk transfer as I worked. You don't have to press hard. You don't want to indent the wood. As long as your chalk color isn't too light, you'll see it just fine. Using the Sharpie will give you total control of the outcome. The reason I went through so many Sharpies, and why you need a crazy amount of patience, is that I used Chalk Paint. It tends to dry out the Sharpie as you work. One way that I found will help with this, is to get a separate piece of paper, and using a thick Sharpie....scribble. With your "dry" Sharpie, scribble over that. It seems to get the ink flowing again, but not always. So instead of going nuts, just have a back-up...or 3. Eventually the ink will get flowing in all of them, but it takes time. When you are all finished, you can either distress it using a light grit sandpaper like I did, or skip that step and just finish it with a top coat. I sprayed it with a clear, non-yellowing, satin top coat. And TA-DA....

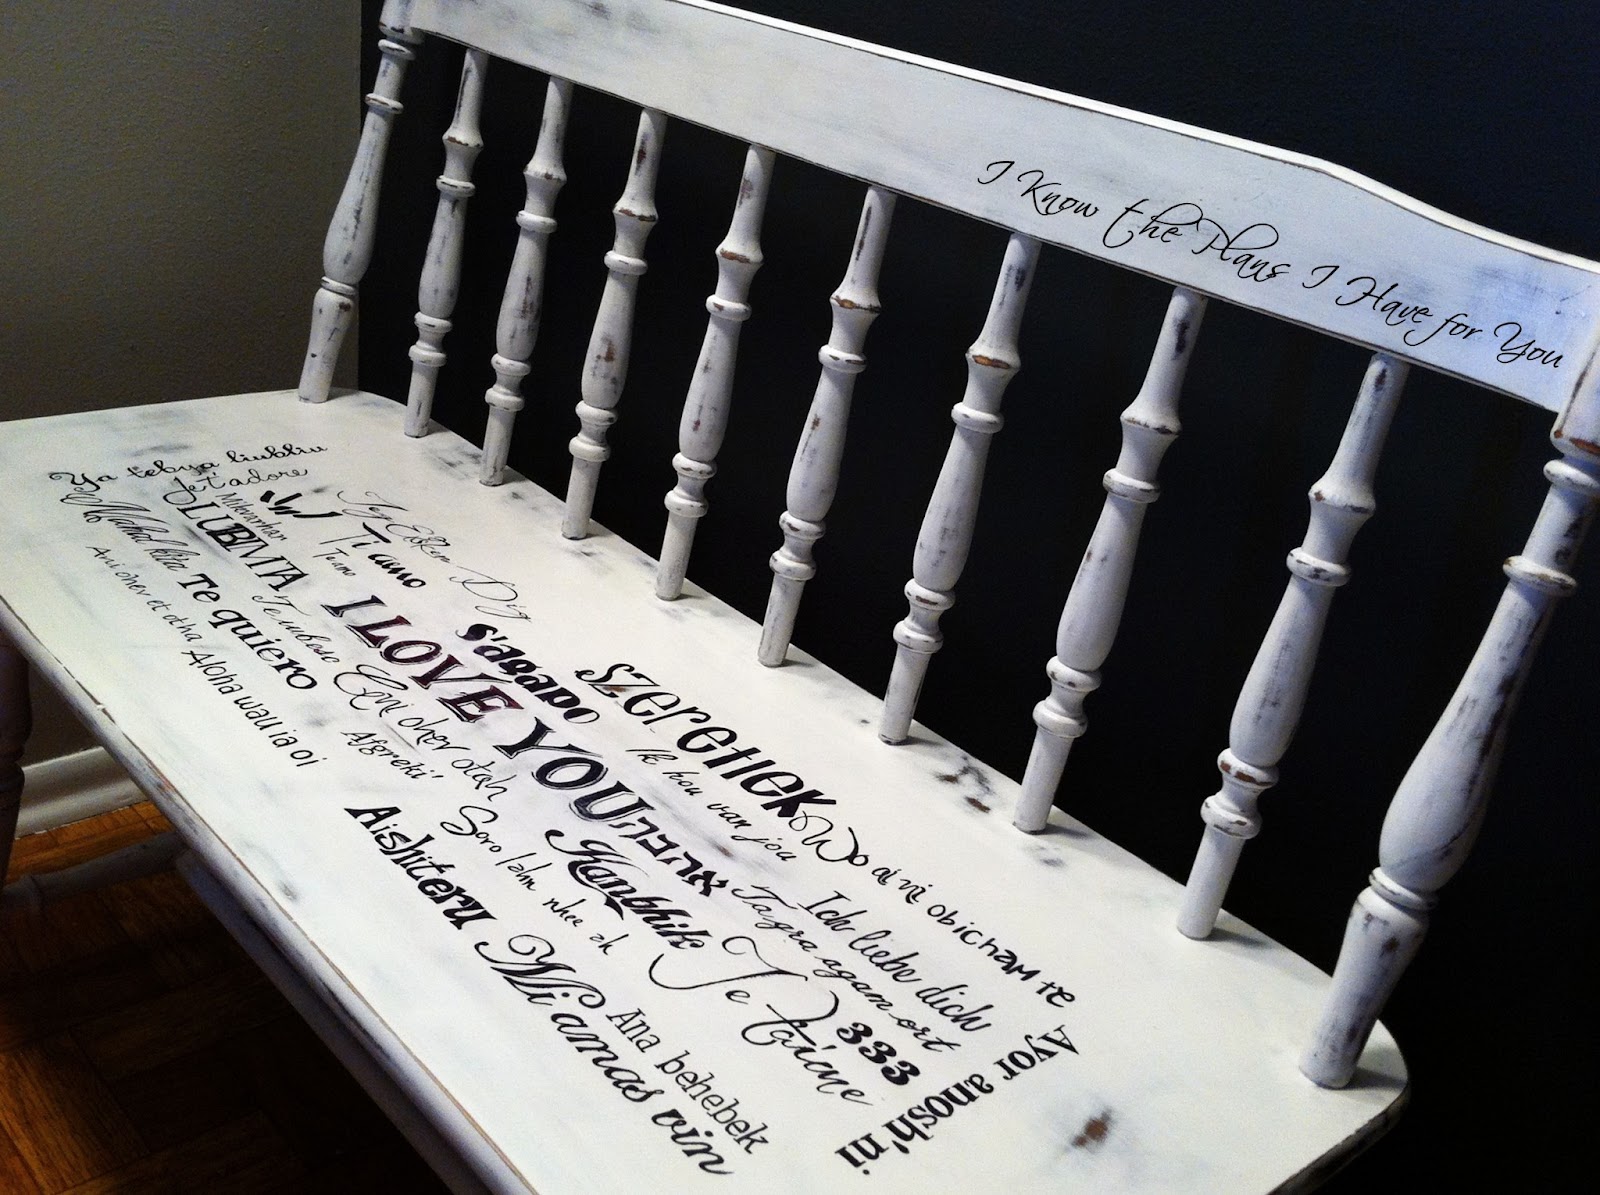


OH, I almost forgot to mention! When my sister-in-law saw it, she fell in love (pun intended), a bought it!!

Sharing with:


No comments:
Post a Comment